Are you having trouble finding where is the microphone on your Dell laptop?
Don’t worry, we’ve got you covered.
In this article, we’ll guide you through locating the microphone on your Dell laptop and help you understand its functionality.
Whether you’re a beginner or just need a refresher.
We’ll provide clear instructions to ensure you can easily identify and use the microphone.
We’ll also address a common issue that Dell laptop users encounter microphone not working and providing troubleshooting tips to help you resolve this problem.
Quick Answer
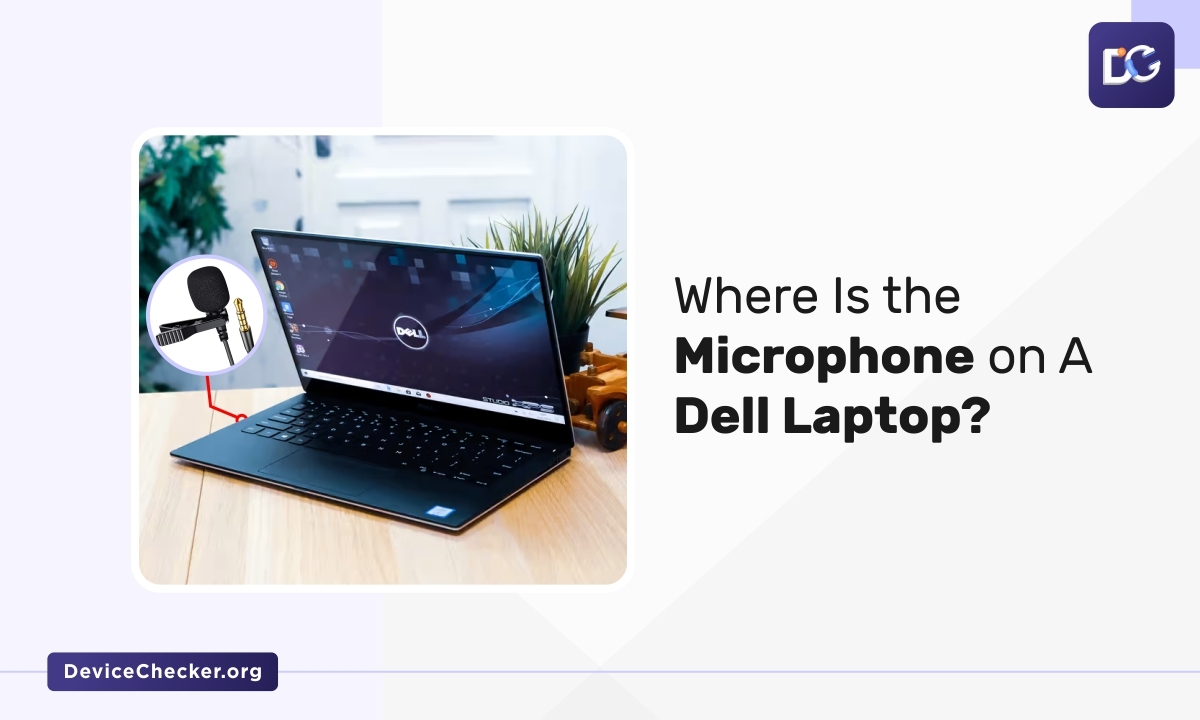
To locate the microphone on a Dell laptop, you can typically find it near the camera or webcam area. Look for a “small pinhole-sized” opening or a tiny microphone icon next to the camera lens. On some models, the microphone may be placed along the bezel above the screen. Once you’ve identified the microphone, you can use it for various tasks like voice recording, video calls, or voice commands. Remember to adjust the microphone settings in your laptop’s audio settings if needed.
Let’s dive in and discover where the microphone is on a Dell laptop and how to fix any microphone-related issues you may be facing.
Where Is The Microphone Located On Dell Models?
The microphone is enabled by default. However, if you wish to disable the microphone, you can do it by navigating to the settings and locating the sound options.
Users would find the microphone near the window bezels close to the camera in the Inspiration series.
On the contrary, if you own a laptop featuring the XPS series, you would find the microphone near the front end of the laptop.
How To Find The Microphone On Dell Laptops?
There are several ways to locate the microphone on Dell laptops.
While some methods require the user to identify the physical location of the microphone, which varies according to each variant, some focus on tweaking the software settings to turn on/off or changing the settings of the microphone for a personalized experience.
Some methods to find a microphone in Dell laptops are as follows.
1. Dell Audio Control Panel
Dell audio control panel is a distinct application available for Dell laptops that can help you find the microphone.
- Press the Blue button on the Dell laptop representing the built-in microphone in the system.
- Under the Dell control panel, navigate to the Input tab and select the Internal Microphone option to tweak the changes you wish to perform.
- Save and apply the changes.
2. Hardware And Sound
Dell laptop users can also track the physical location of the microphone by speaking through different edges of the laptop.
To test the microphone using hardware and sound technique, follow these steps.
- Navigate to the windows icon, and under the search bar look for the control panel.
- Under the option, Hardware and Sound option, Choose sound Settings followed by the Recording tab.
- Choose the microphone array option that helps you enable microphone testing. Speak from different edges of the system and keep track of the voice levels that captures boost in audio. Most users would find the microphone near the camera portion.
It is better to test the capabilities of the microphone using the software settings, as the microphone location for each Dell variant varies by leaps and bounds.
On the contrary, these software settings are relatively easier and are the same for all the variants provided by the manufacturer.
Therefore, using the software to test the microphone helps provide an efficient and productive experience compared to the physical way of locating the position of the microphone.
How To Test A Dell Laptop Microphone?
There are several ways in which you can test a Dell laptop microphone. However, the most efficient and effective way of testing the microphone working is to use mic testing tools available on the internet.
The Device Checker – Mic Test is one unique handy tool that helps you check the microphone’s working conditions and other specifications related to it.
Users can also submit reviews for their microphone functionality which assists other users with similar specs regarding their microphone quality.
Surf the web browser and search for this free microphone testing tool to test the microphone to discover and eliminate the problems associated with it.
How To Use The Microphone On A Dell Computer?
Dell Laptop owners need to follow the steps to use the external microphone in their system.
- Users need to attach the microphone to the backport of the computer with a mic label. As the location of the slot for the external microphone varies based on different models, check the manual for the microphone slot. You will not need to download additional drivers to set up the microphone.
- Navigate to the Windows taskbar menu and choose the white speaker icon, followed by the option to Record Devices.
- Under the list of devices recording the audio from the nearby surroundings, ensure that no device is disabled.
- Navigate to the properties tab using the bottom window area.
- Choose the Levels tab and ensure that it is not mute. If it is, unmute the microphone by disabling the red circle icon near it. The symbol would gradually change to the speaker icon.
- You can also change the sensitivity settings of the microphone using the slider. Once you find the right sensitivity, apply the changes and save the settings.
Once you complete the above steps, you will be able to use the microphone in the system by proceeding with the below-discussed steps.
- Select the application or the game title for which you wish to enable the microphone. Enable it to receive the inputs given by the user based on your preference.
- Depending upon your sensitivity settings of the microphone, speak nearly by positioning yourself close to the microphone. We also recommend trying out different sensitivity settings to find the ideal microphone sensitivity for you.
FAQ
How Do I Turn On My Microphone Shortcut?
Users need to set up the shortcut key for turning on or off the microphone based on their likings.
To tweak the shortcut setting for the microphone, right-click on the microphone icon and choose to select the shortcut key.
Assign any key based on your preference that you wish to use to turn on or off the microphone.
Where Is The Mic In The Settings?
The microphone settings in the system can be accessed by navigating to the following path.
Using the search menu in Windows, search for the control panel followed by System and Audio settings.
Under the audio tab, navigate to the Input menu and choose the microphone you wish to exploit. You can also test the audio capacity of your microphone using these settings.
How Do I Turn On My Microphone On My Dell?
Turning on the microphone for Dell laptops or computers is simple and requires you to follow these steps.
- Navigate to the start menu of Windows and open the system settings.
- Under the Privacy tab, choose the microphone and turn on the apps you wish to provide access to. It will enable you to use your microphone based on the application or program selected for you.
Conclusion
With the ever-growing list of Dell laptops and computers, it is difficult to provide a single ideal location for the in-built microphones offered by the manufacturer.
While the microphone is near the camera in the Inspirion series, the position would differ in other variants.
It is advisable to check or read the manual to locate the position of the microphone in Dell laptops.
Furthermore, you can also navigate to the settings tab and follow the instructions mentioned in the list to check the status of the microphone.


